Denmark, a country often associated with fairy-tale charm, conjures images of serene lakes, ancient castles, and picturesque towns. I’m excited to share my comprehensive guide on how to plan your flight to this enchanting destination. From booking your ticket to arriving at your final destination, here’s everything you need to know to ensure a smooth and enjoyable journey.
1. Preparation Before Departure
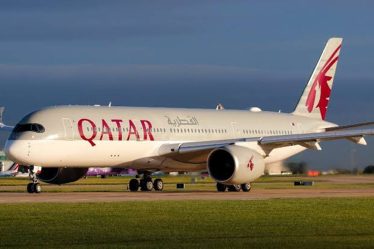
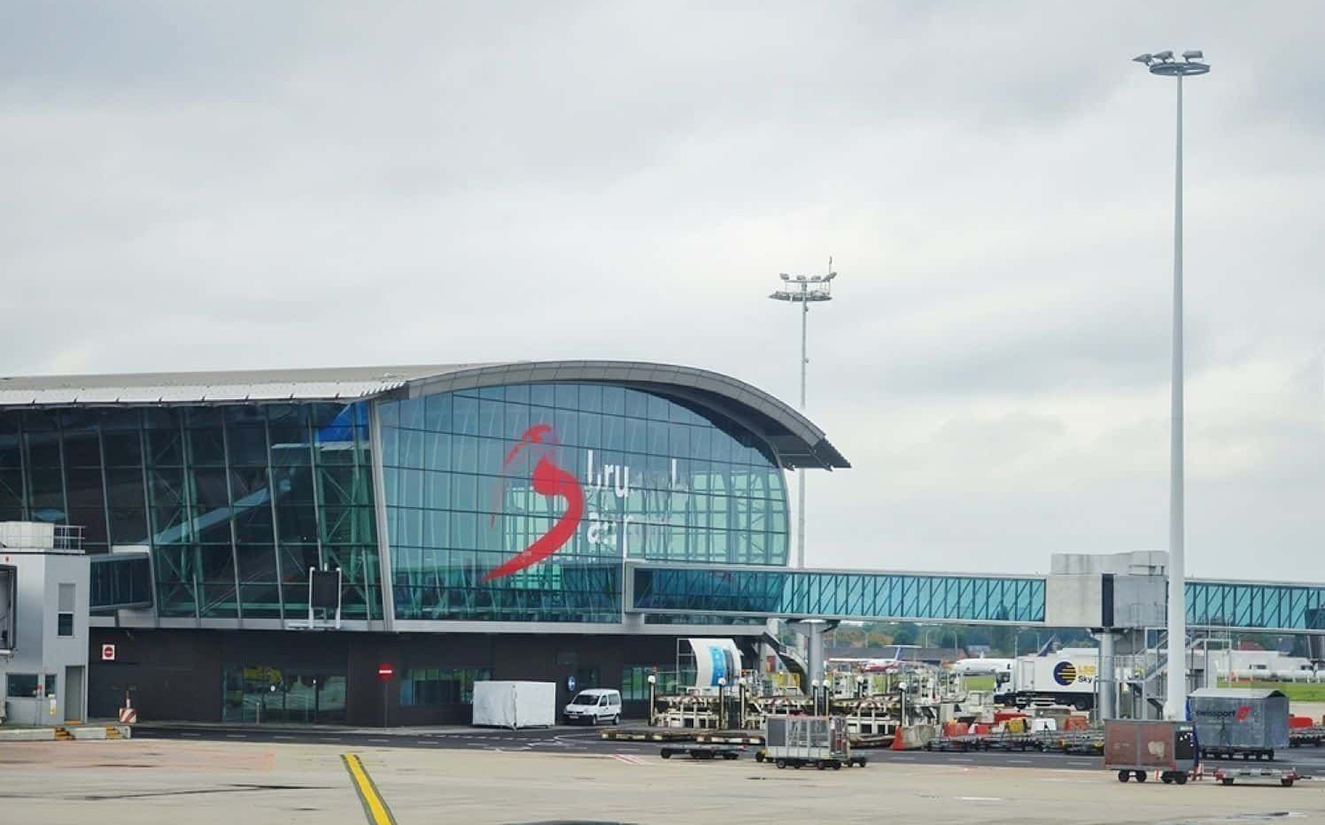
When planning my trip from Belgium to Denmark, the first crucial step was selecting the right flight. I began my journey in Brussels, a bustling city with a major international airport, which serves as a gateway to numerous destinations in Denmark. The Brussels Airport, also known as Brussels Zaventem, is well-connected and offers frequent flights to Denmark’s major cities, including Copenhagen, Aarhus, and Aalborg.
Selecting the Right Flight
1. Choosing the Departure City:
Since I was starting from Brussels, I focused on flights departing from Brussels Airport. However, Belgium has other airports like Antwerp and Liège, which might offer flights to Denmark as well. It’s worth checking these airports if you’re based in those regions or if they offer better flight options or prices.
2. Comparing Flights:
To ensure I found the best deals, I utilized flight comparison websites like Skyscanner and Google Flights. These platforms are incredibly useful as they aggregate flight options from various airlines and travel agencies, allowing me to compare prices, flight durations, and departure times. Here’s how I approached it:
- Skyscanner: This site allowed me to search for flights over a flexible date range, helping me identify the cheapest days to fly. I could filter results based on direct flights, flight duration, and departure times, which made it easier to find a flight that fit my schedule and budget.
- Google Flights: I used Google Flights for its user-friendly interface and interactive calendar view, which visually displayed price changes across different dates. The ability to see a range of options at a glance helped me make an informed decision quickly.
3. Evaluating Flight Options:
Once I had a list of potential flights, I evaluated them based on several factors:
- Price: While finding the lowest fare was important, I also considered whether the flight was within my budget and if there were any additional fees, such as for baggage or seat selection.
- Flight Duration: Direct flights are generally more convenient, but if a layover offered significant savings, I weighed the trade-off between time and cost. I aimed for flights with reasonable layover times if direct options were not available.
- Departure and Arrival Times: I preferred flights that suited my schedule, taking into account both the time of departure and arrival. Early morning or late evening flights might offer cheaper fares but could affect my plans upon arrival.
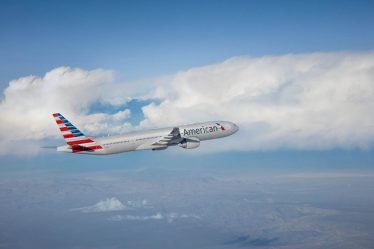
- Airline Reputation: I checked reviews and ratings of the airlines to ensure a comfortable travel experience. Reliable airlines with good service records were a priority.
4. Booking the Flight:
After narrowing down my options, I proceeded with booking the flight. I booked directly through the airline’s website when possible, as this often provides the best customer service and straightforward changes or cancellations if needed. However, if a travel agency offered a significantly better deal, I made sure to verify their reliability and terms before finalizing the booking.
5. Confirmation and Documentation:
Once the booking was complete, I received an email confirmation with my flight details. I carefully reviewed this information to ensure accuracy and saved a copy on my phone and printed one for convenience. I also noted the booking reference number, which would be helpful for checking in online and at the airport.
By following these steps, I ensured a smooth start to my journey from Belgium to Denmark. The careful selection and booking of my flight allowed me to focus on enjoying my trip without the stress of last-minute changes or unexpected issues. Whether you’re traveling for business or leisure, taking the time to plan and book your flight thoughtfully can make all the difference in your overall travel experience.
Packing Your Bags
Packing is another crucial aspect. I first checked the airline’s baggage policy to understand the limits on carry-on and checked luggage. I made sure my liquids were in compliance with security regulations, packing them in clear, resealable bags. Additionally, I packed travel essentials like a neck pillow, phone charger, and a good book to make my journey more comfortable.
2. Arriving at the Belgian Airport
Getting to the Airport
To ensure a stress-free experience, I arrived at the Brussels airport about 2 to 3 hours before my flight. This gave me ample time to check in, clear security, and navigate through the airport. I took public transportation to the airport, which is a convenient and cost-effective option, though taxis and driving are also viable choices.
Checking In
Upon arrival, I went to the airline’s check-in counter or used a self-service kiosk to check in. I handed over my checked luggage and received my boarding pass, which is crucial for boarding the flight.
Security Check
At security, I prepared my boarding pass and identification. I was careful to ensure that all my carry-on liquids and electronic devices complied with security regulations. While this process can be time-consuming, being well-prepared helps make it go smoothly.
Proceeding to the Gate
After clearing security, I followed the signs to my designated gate according to my boarding pass. With some time to spare, I enjoyed the airport’s amenities, such as duty-free shops and dining areas, making the wait more pleasant.
3. During the Flight
Boarding the Aircraft
When the boarding announcement was made, I waited patiently and boarded the plane in the order instructed. I found my seat and stowed my carry-on luggage in the overhead compartment, preparing for the flight.
In-Flight Experience
To enhance my comfort during the flight, I used earplugs and an eye mask. The in-flight service included meals and entertainment options, which I took full advantage of. I spent my time reading a book and watching movies, making the flight enjoyable and engaging.
4. Arriving in Denmark
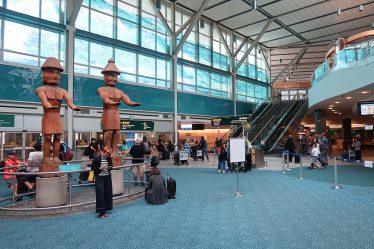
Landing at the Danish Airport
Once the plane landed, I waited for the seat belt sign to turn off and exited the aircraft in an orderly fashion. At the baggage claim area, I collected my checked luggage.
Clearing Customs
At customs, I presented my passport and answered a few questions about my entry. It’s important to declare any items that need to be declared and to follow local customs regulations.
Connecting to Your Destination
After clearing customs, I chose my mode of transportation to my final destination. Options include taxis, airport buses, trains, or car rentals. For those heading to Copenhagen, taking the metro or train directly to the city center is a convenient choice.
5. Reaching Your Destination
Getting to Your Accommodation
Upon reaching my accommodation, I used a map or navigation app to find my hotel or rental property. I checked in, settled my luggage, and took some time to relax and adjust.
Exploring Denmark
With my base set, I began exploring Denmark, immersing myself in the local culture, cuisine, and attractions. From ancient castles to modern museums, each experience was a delightful chapter in my Danish adventure.
This journey from Belgium to Denmark provided me with valuable insights into the importance of thorough planning and preparation for a successful trip. I hope this guide helps you embark on your own adventure to Denmark, a country that truly lives up to its fairy-tale reputation. Enjoy your trip to this magical land!